Oh, I’m sure you already know this:
The only way to convert trial users into paying customers is by helping them reach the activation point – a moment when they “get” your product and the value proposition.
Or, in other words, you need to guide a person to understand what your product can truly do for them.
But I’m also certain that you’ll agree with me on this:
It’s SO much easier said than done, right?

That said, it’s not impossible.
Do a Feature Audit of your website's sharing options
Download The Ultimate Sharing Workbook today!
After all, many SaaS companies manage to battle churn and increase trial to paid conversions.
Here, let me show you:
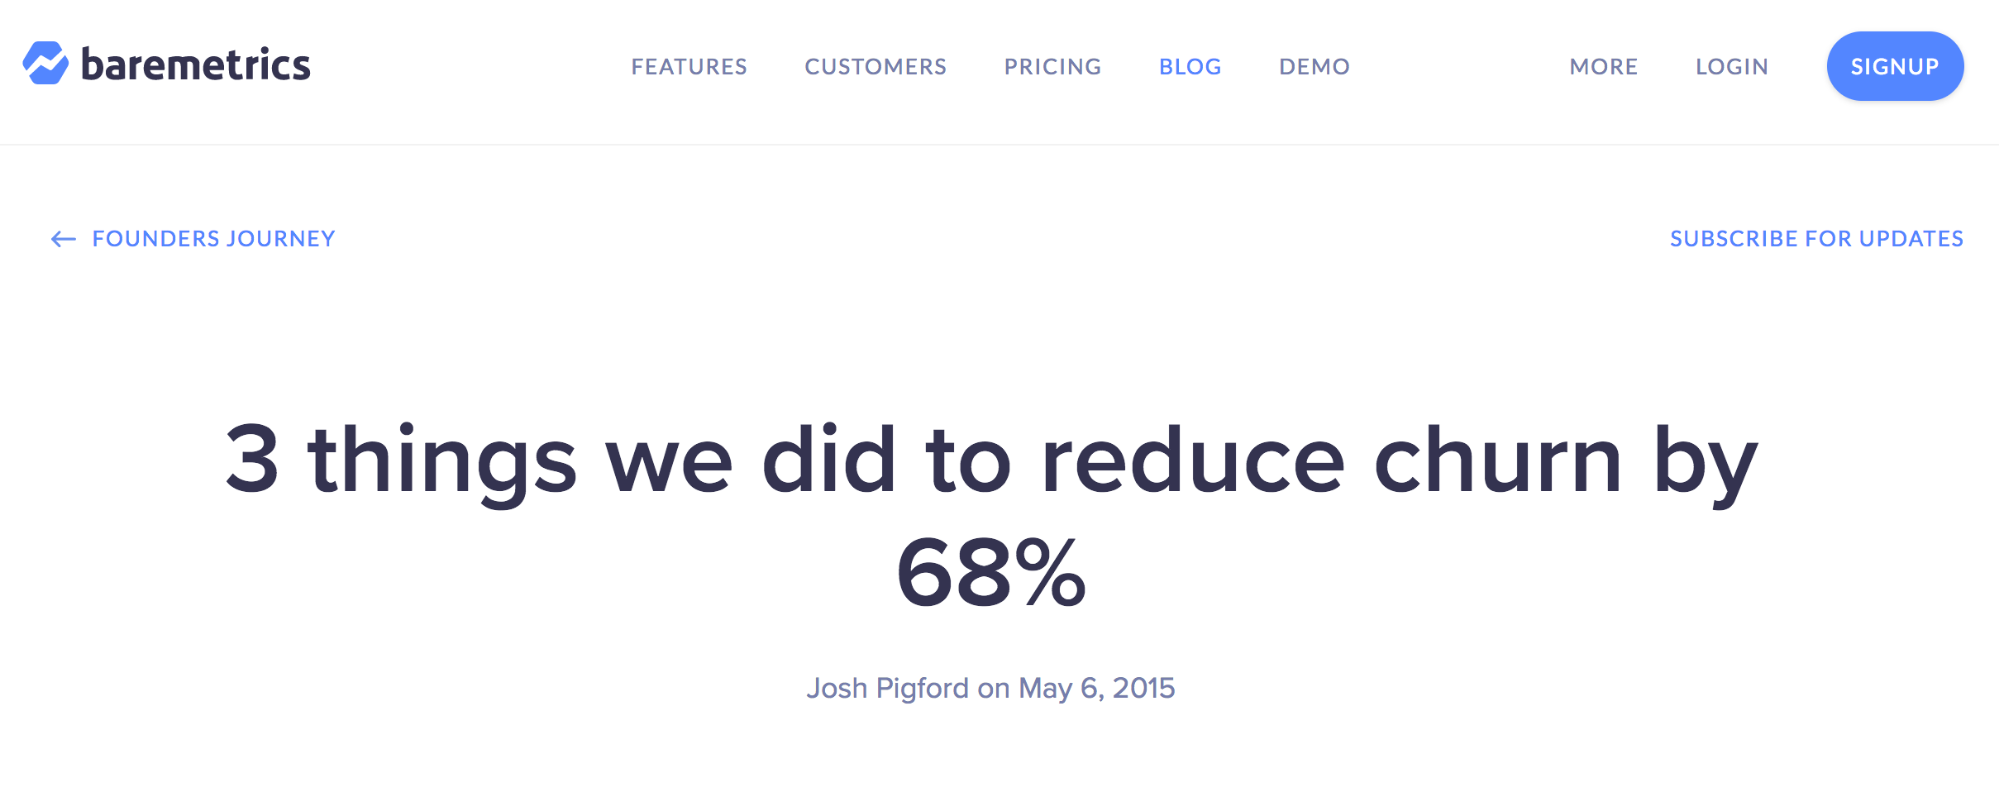
(And here’s one of those three things Baremetrics did to achieve it:)
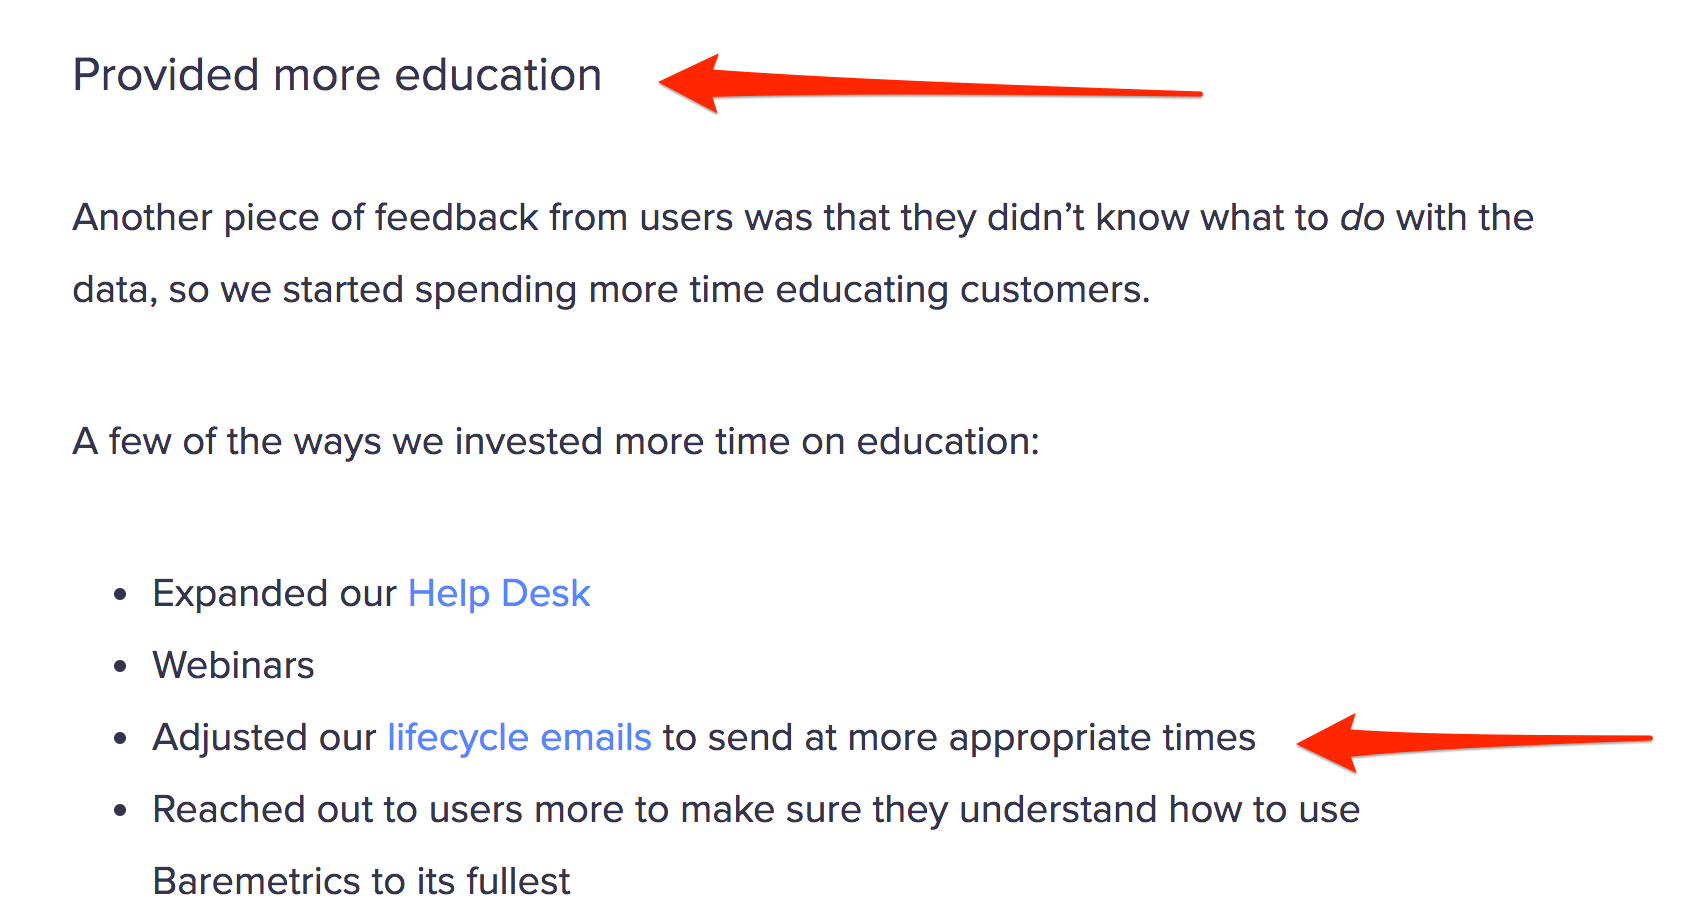
In short, they helped users better understand how the product delivers value.
Nice, eh?
Here’s another example from Chargebee:
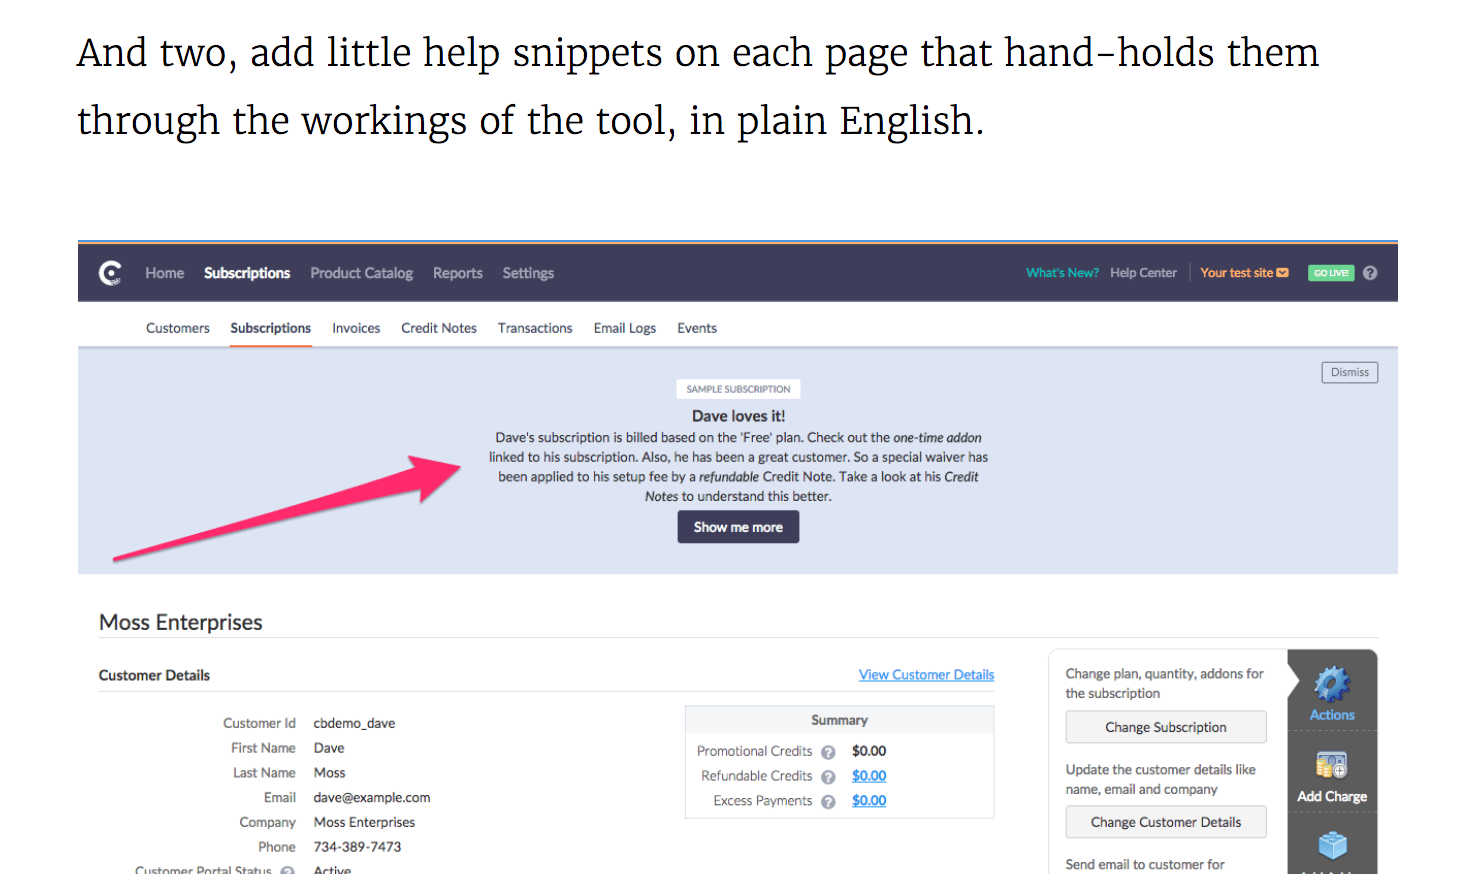
The company achieved 7% lift in a trial to paid conversions by making their value much clearer within the app.

And so, in this post, I’ll show you how you can do the same with one of the most powerful strategies to achieve it – the user activation drip campaign.
You’ll learn what elements your drip campaign should include, and how to ensure that it will guide trial users to the activation point.
Intrigued? Then let’s get cracking.
Wondering how to onboard more users? Check our ultimate guide to using your product’s activation point to convert trial users into customers.
The 4 Stages of New User’s Lifecycle
Before we dive into planning the drip campaign, let’s understand the different stages a new user goes through after signing up.
(Disclaimer, I’m using information from Intercom about eBay and Facebook’s growth strategies for this section.)
According to Intercom, both companies share a similar framework they use to optimize a new user journey. They believe that anyone signing up goes through more or less four stages:
- Acquisition – a moment when they sign up, after reading your copy, content or any other marketing materials.
- Activation – At this point, you’ve provided a user with amazing initial experience, and this has convinced them to keep using your product.
- Engagement – Now you’re engaging them and keep providing value, so they stick around for longer.
- Virality – Finally, users are ready to start recommending your product to others.
And as Intercom put it (note, the emphasis in bold is mine):
“The order of these steps may vary but activation is the critical link between acquisition and revenue.”
That’s also exactly where you need to lead your new users, and as quickly as possible, at that.
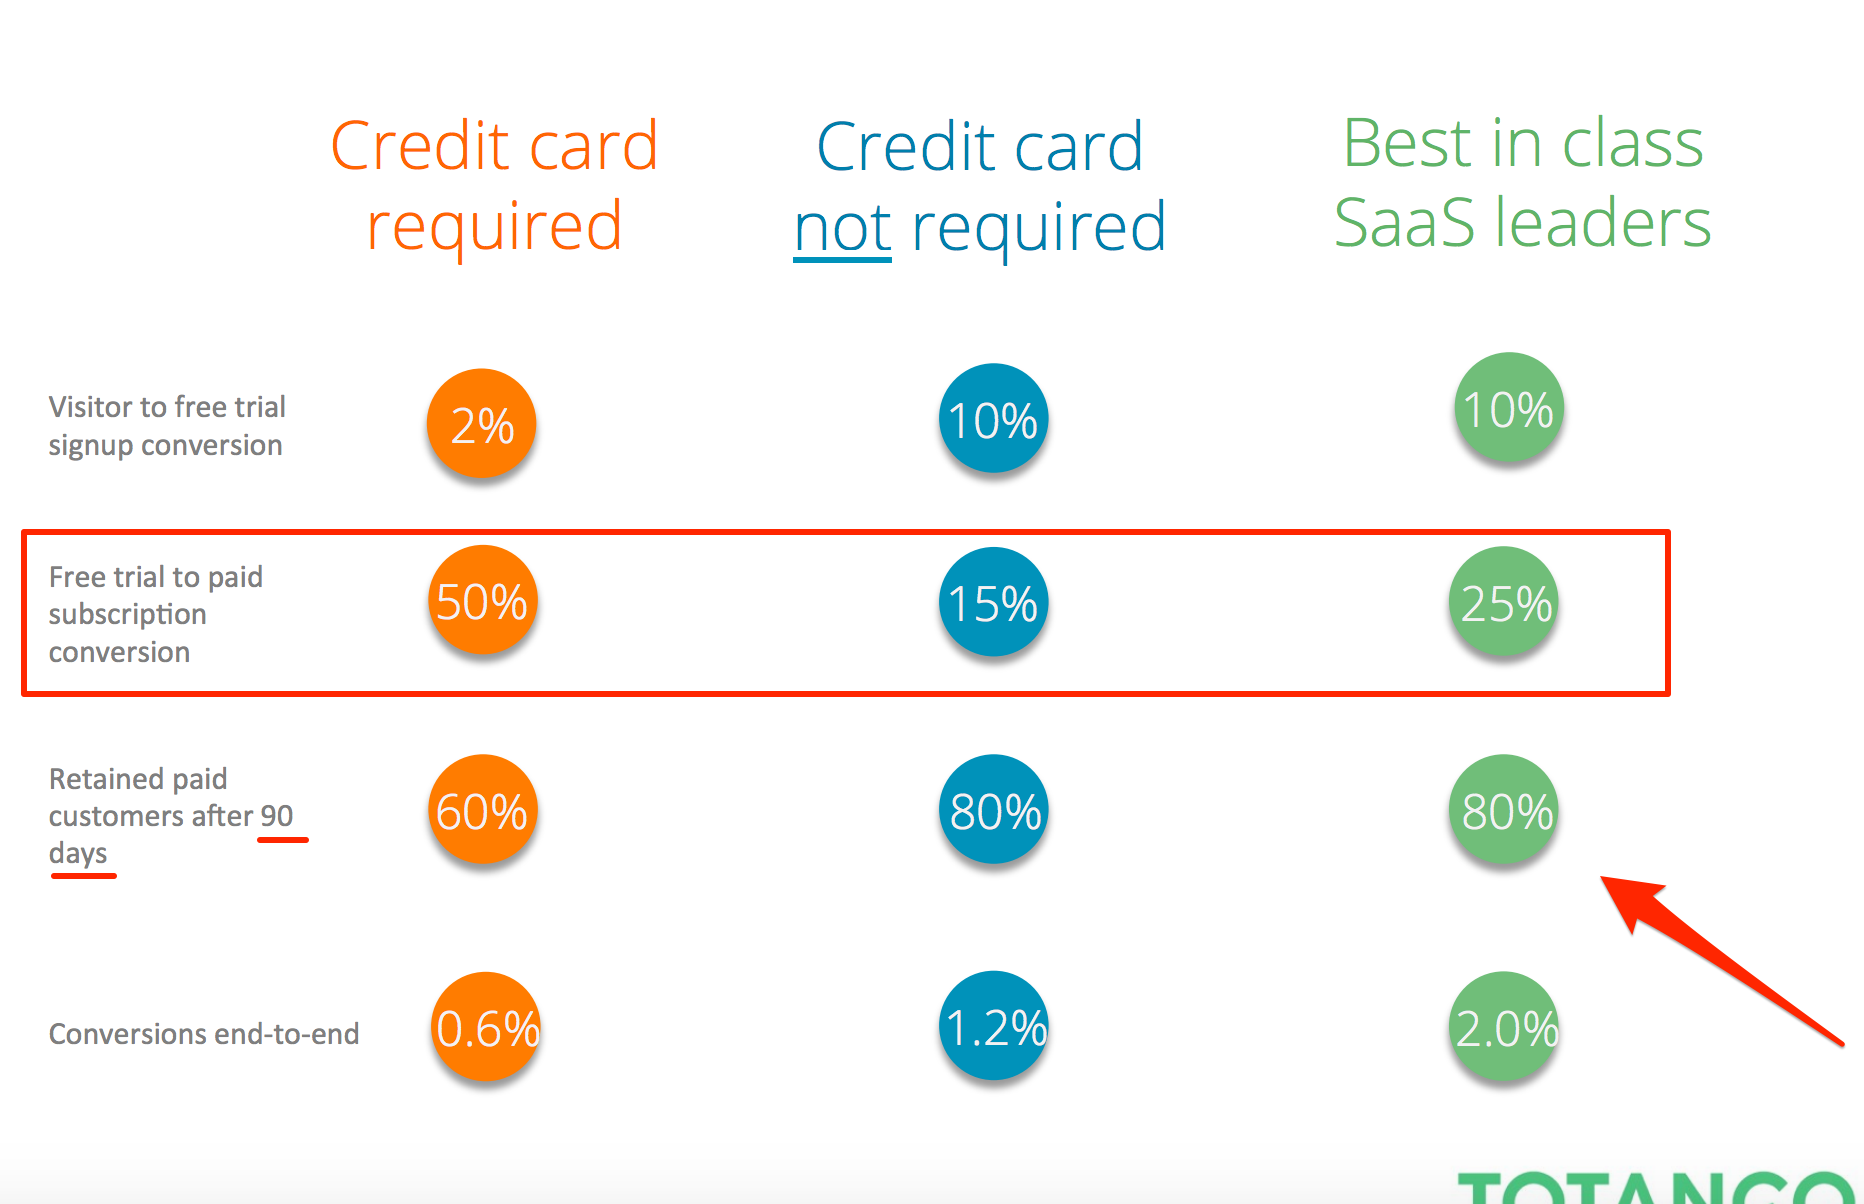
First of all, that’s because trial to paid conversion rates are low from the start, and drop even further after 90 days.
And I’ve already told you what’s the one strategy that can help you do it – user activation drip campaign.
As Steli Efti puts it:
“One of the easiest ways to convert more free trial users into paying customers is by using automated (drip) emails.”
But do you know what the most important word is in his explanation? “Easiest”.
That’s because drip campaigns run on autopilot. The beauty of this strategy is that you set them once, and they kick off for every new person signing up for your product.
Here’s exactly where in the new user lifecycle you need to fire off the drip campaign:
And here’s how.
User Activation Drip Campaign – The Basics
So, what should go into your drip sequence?
Actually, the proper answer is, it depends.
There is no single formula or blueprint for the user activation campaign. It will differ from company to company.
Having said that, there are some common factors that increase the chances for your drip campaign’s success.
Frequency. Your campaign shouldn’t be longer than 6 emails during the typical SaaS trial.
Of course, if you allow users to test your product only for a week, then your sequence should be short.
However, if you give them a month, you have time to send more emails.
But even with that, you shouldn’t go beyond 6 messages.
Personality. The best drip campaigns build some sort of personal connection. So, at a minimum, send your emails from a personal account.
(Of course, it’s not a must. Then again, just compare those two activation drip emails:)

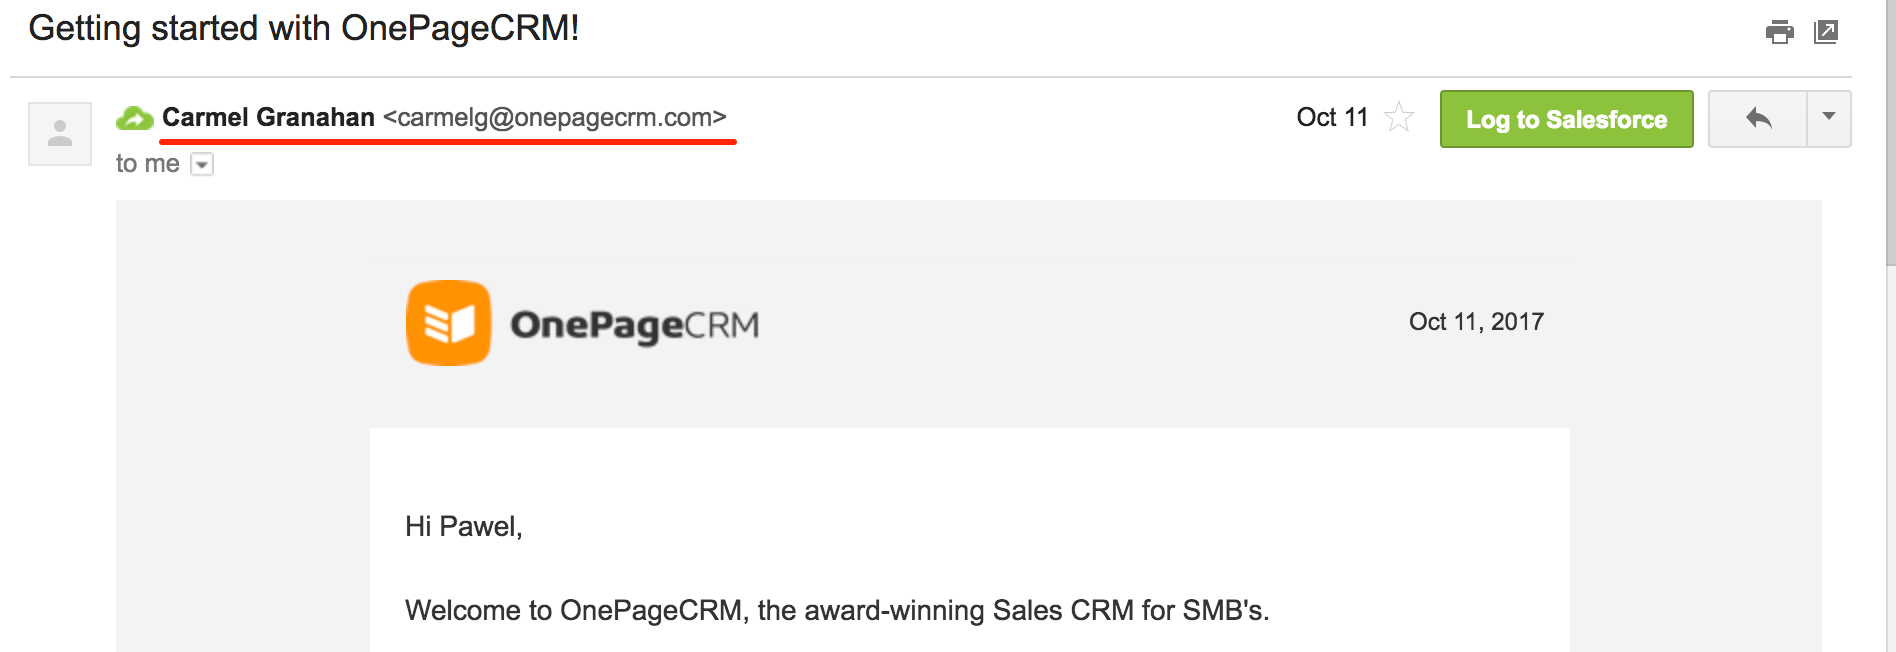
The real email address makes a hell of a difference, doesn’t it?
So, as said, not a must but good to have when building a personal connection.
Include a call to action in every email. I see many SaaS’ forgetting that simple step. But here’s the trick – without it, you leave it to the user to figure out what you want her to do!
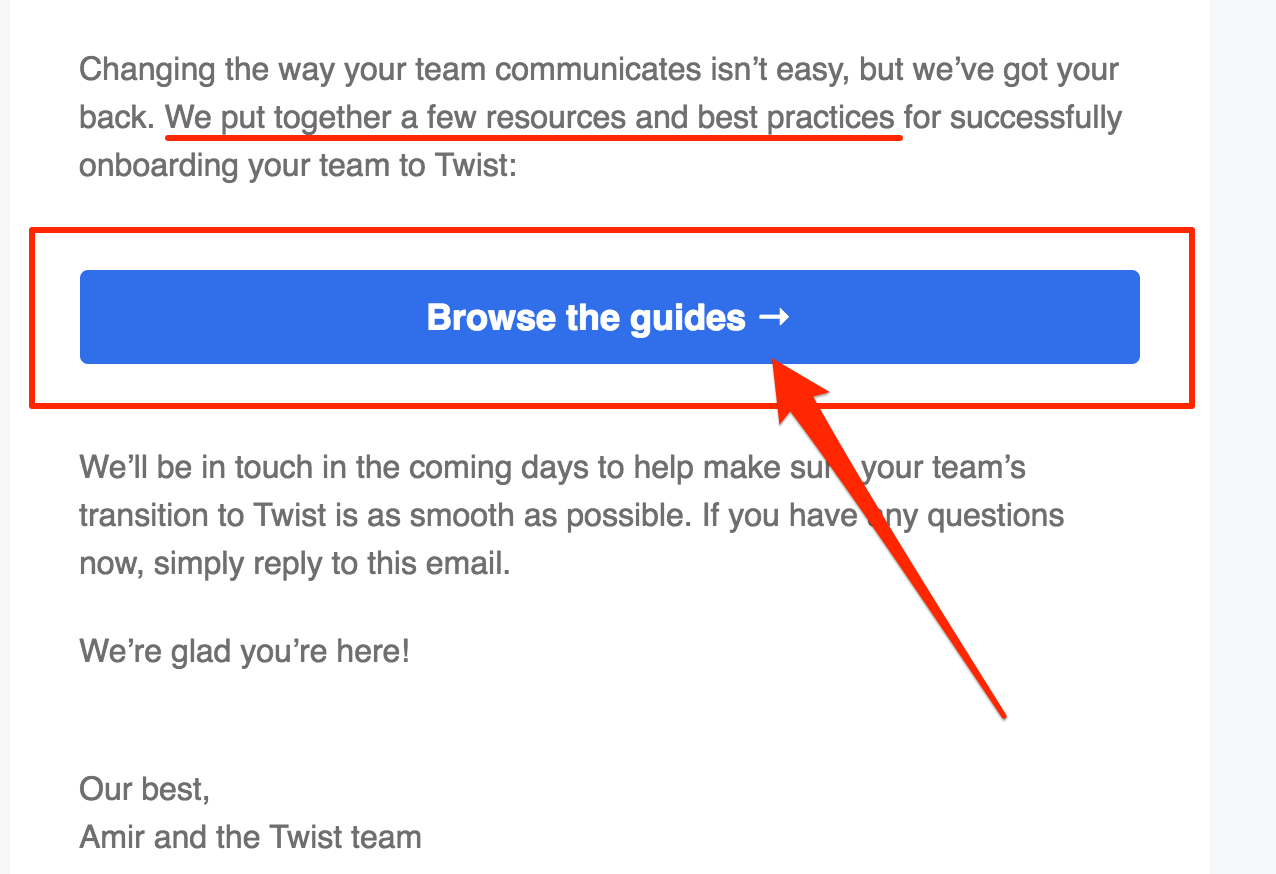
With that off the way, let’s look at the typical drip campaign sequence:
User Activation Campaign Structure
#1. Welcome Email
The purpose of the welcome email is clear:
- It helps you welcome someone to your product,
- Provide them with tools to properly get started with it, and
- Move them closer to the activation point.
It’s also the most important email from the entire sequence.
Why, because it’s the most read. Simply.
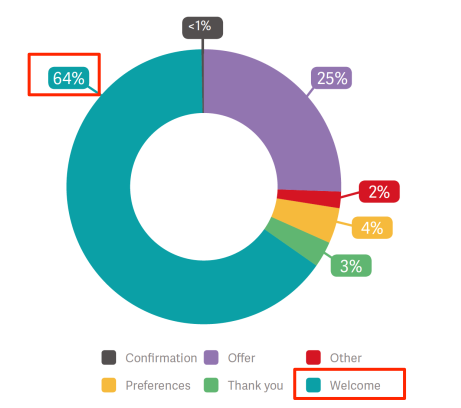
According to ReturnPath, as many as 64% of recipients read the welcome email.
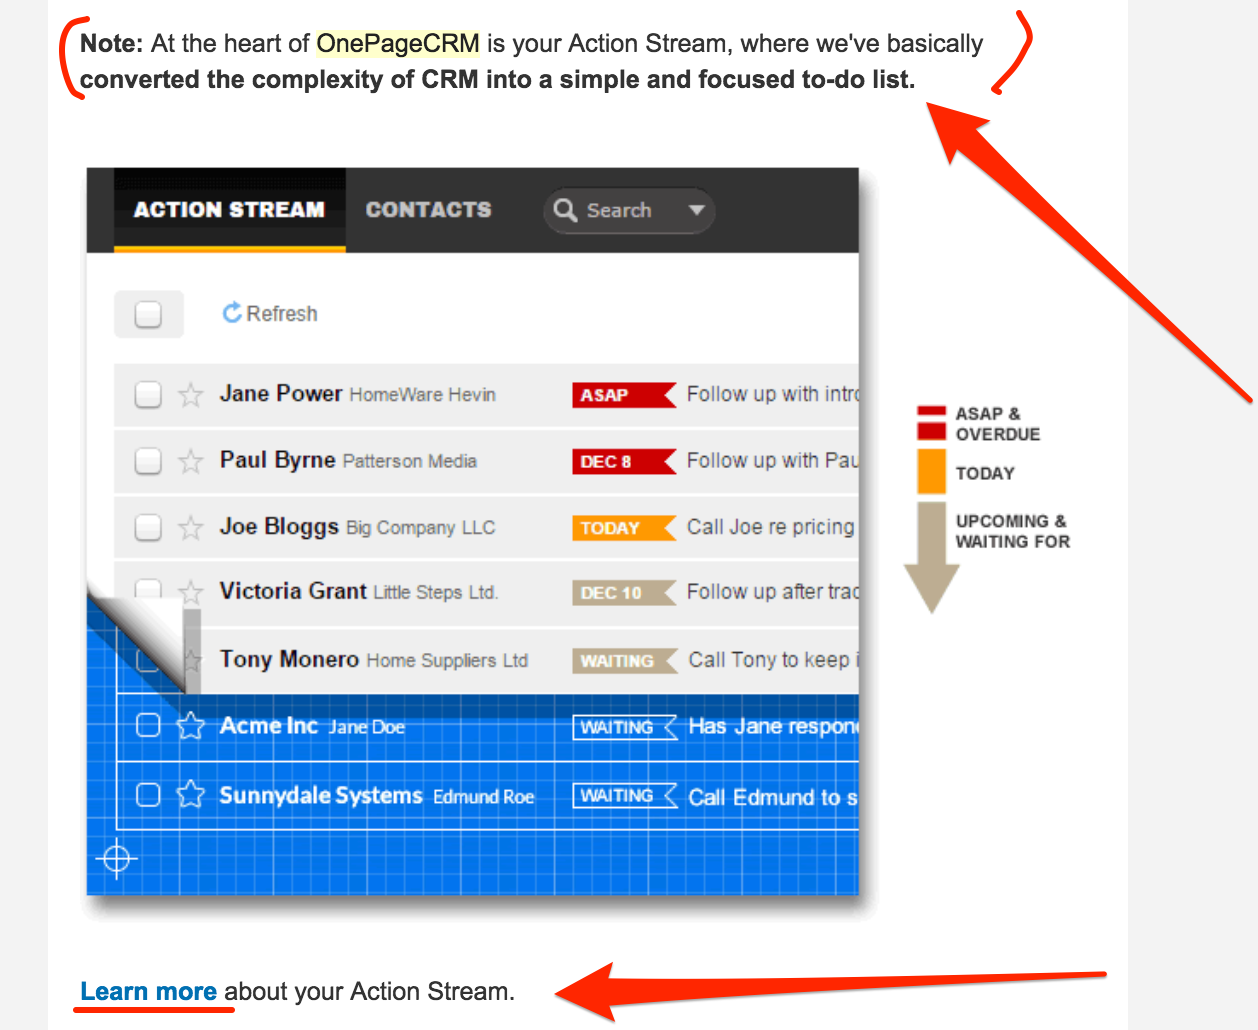
A good practice for welcome emails is to showcase the most important feature and include educational resources that could help a person learn more about it.
OnePageCRM, for example, outlines what makes their product unique, and points a person to resources that could help them learn more.
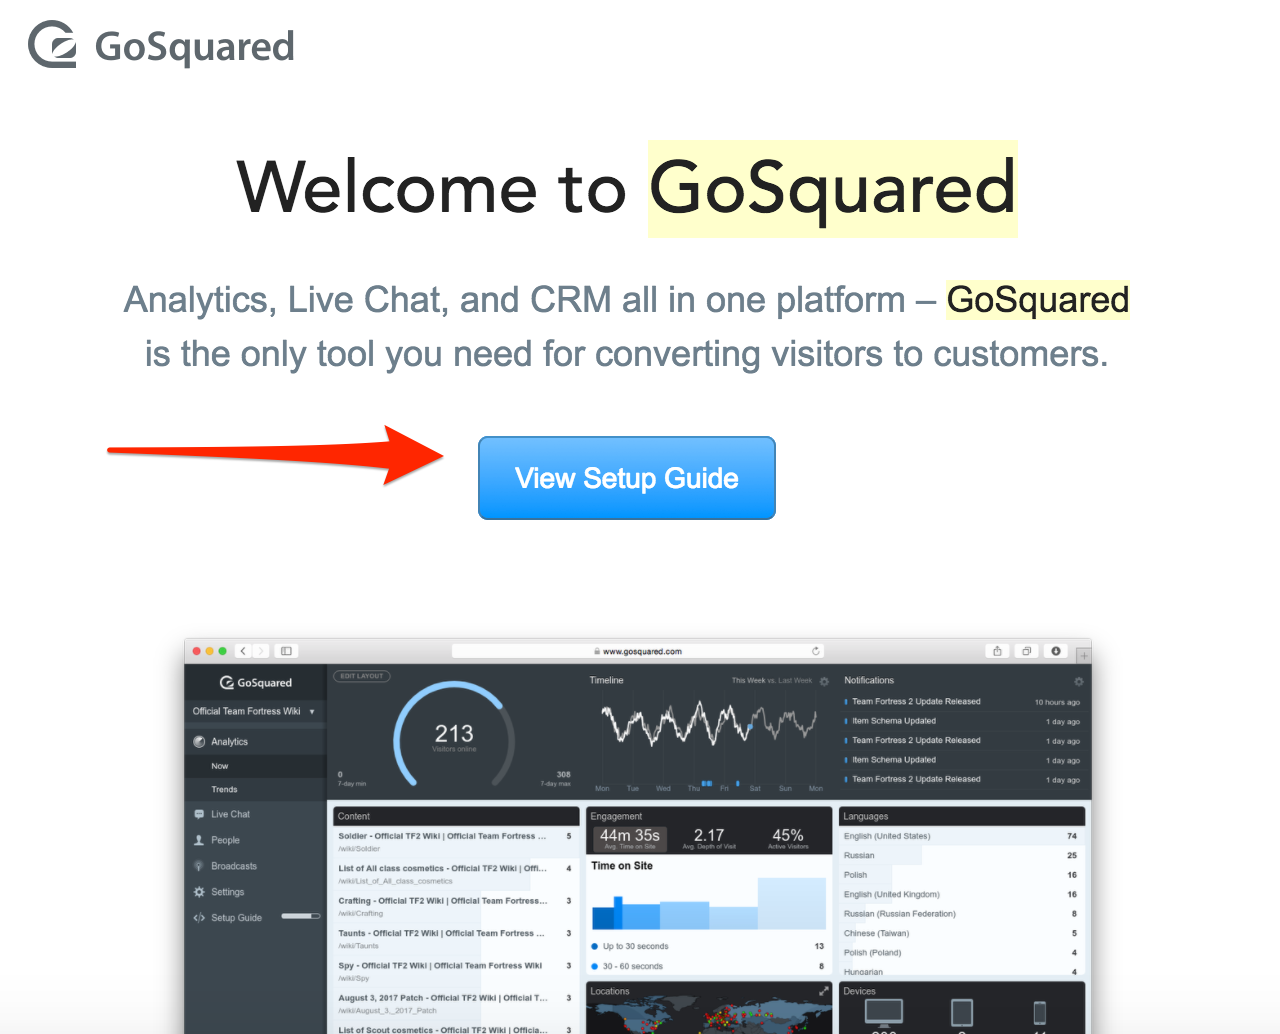
GoSquared outline what their app could help users with, and provide direct access to a full setup guide:
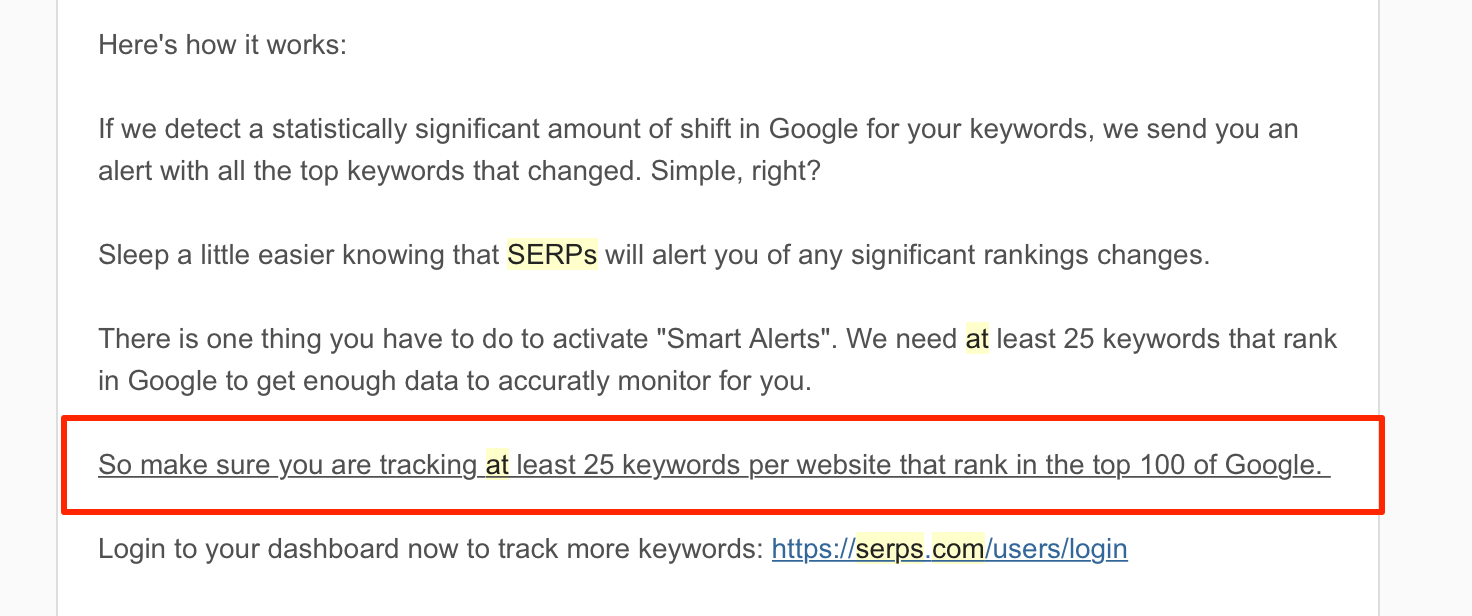
SERPs.com understand that users need to add at least 25 keywords to see the benefits of their rank tracker. And so, guess what they entice you to do in their email?
#2. Getting Started Resources
The first email welcomed a person to your product and told them how it could uniquely help them.
And by now, they might have played with features relevant to this already.
But the chances are that in the process, they’ve missed other elements of the app.
So, your second message should show users what other features they should try during the trial.
(Note, some companies merge this with the welcome email, and there is absolutely no problem with that).
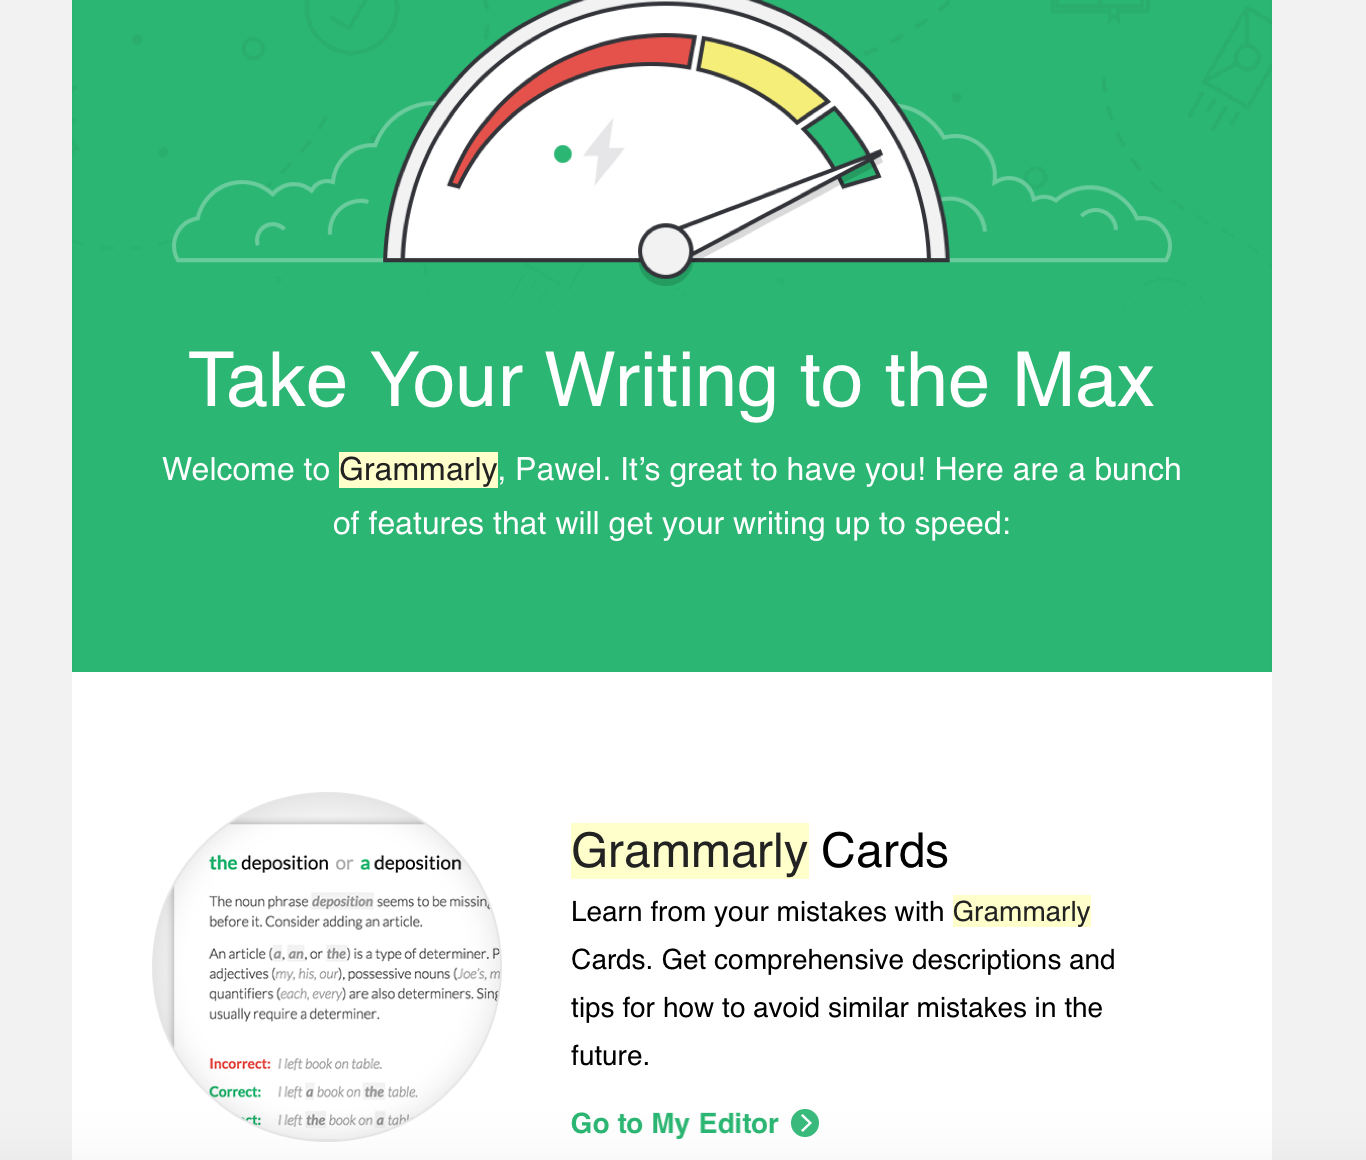
For example, Grammarly outlines the features to pay attention to:
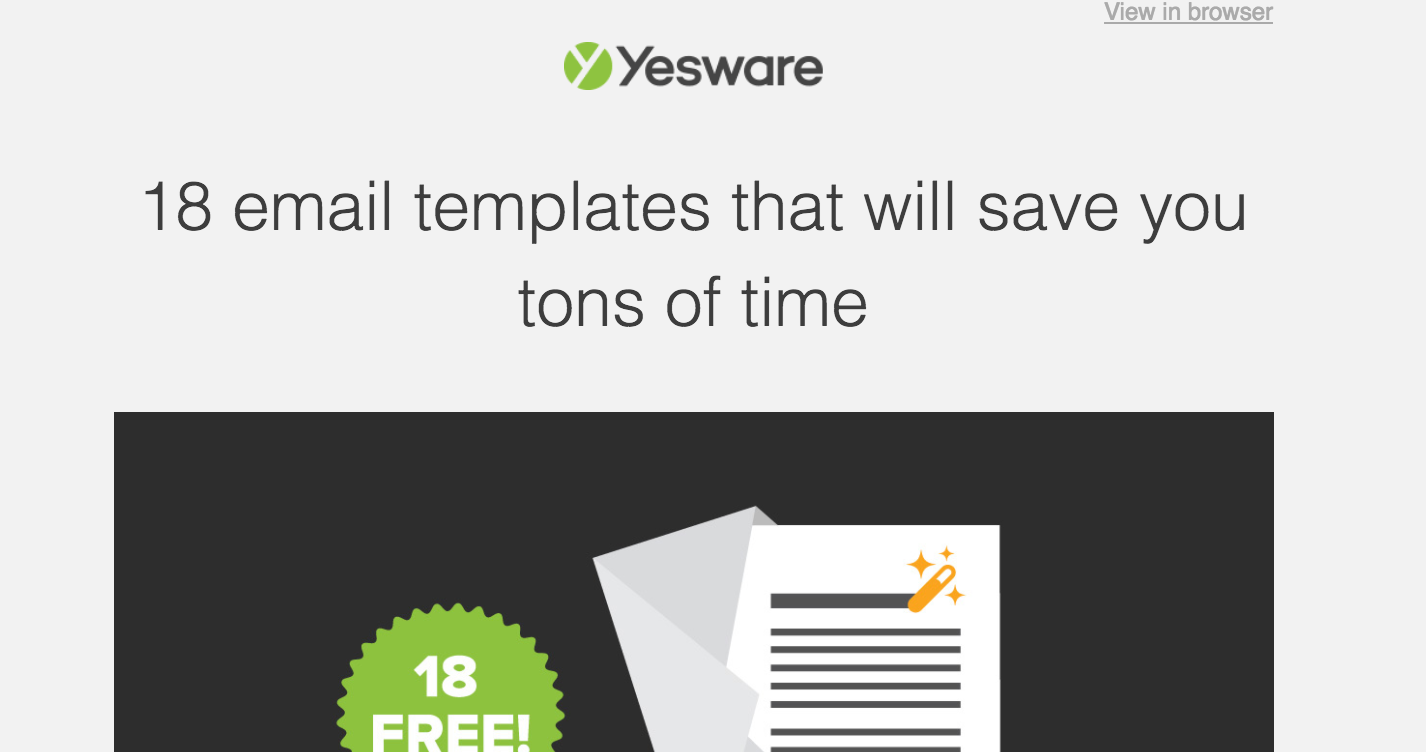
Yesware, on the other hand, uses their content to highlight crucial features. In the case of their 2nd email – templates.
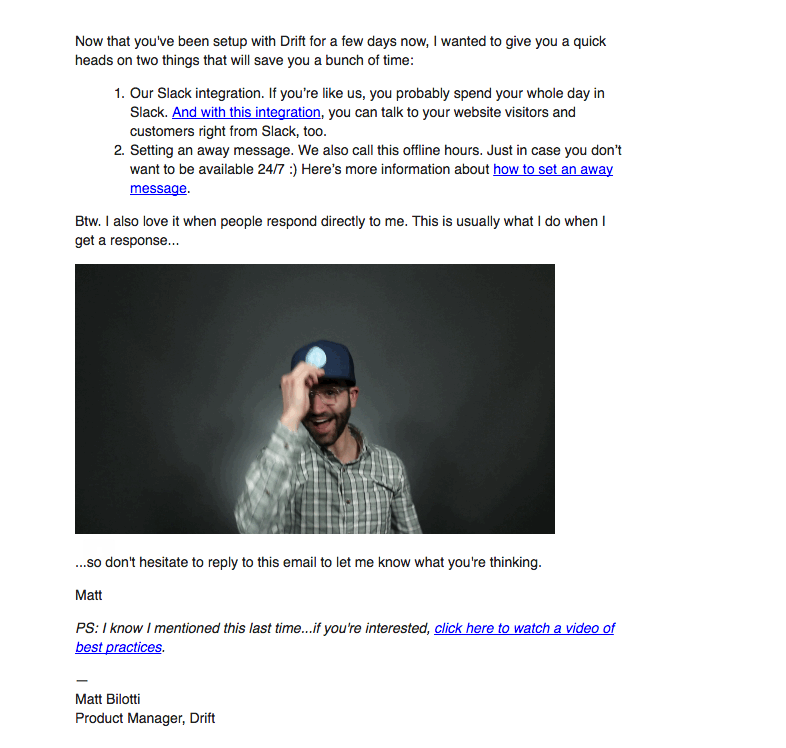
And Drift highlights their two crucial features:
#3. Benefits
You’ve told a new user what makes your product unique.
She also knows where to look for information and guides during the setup.
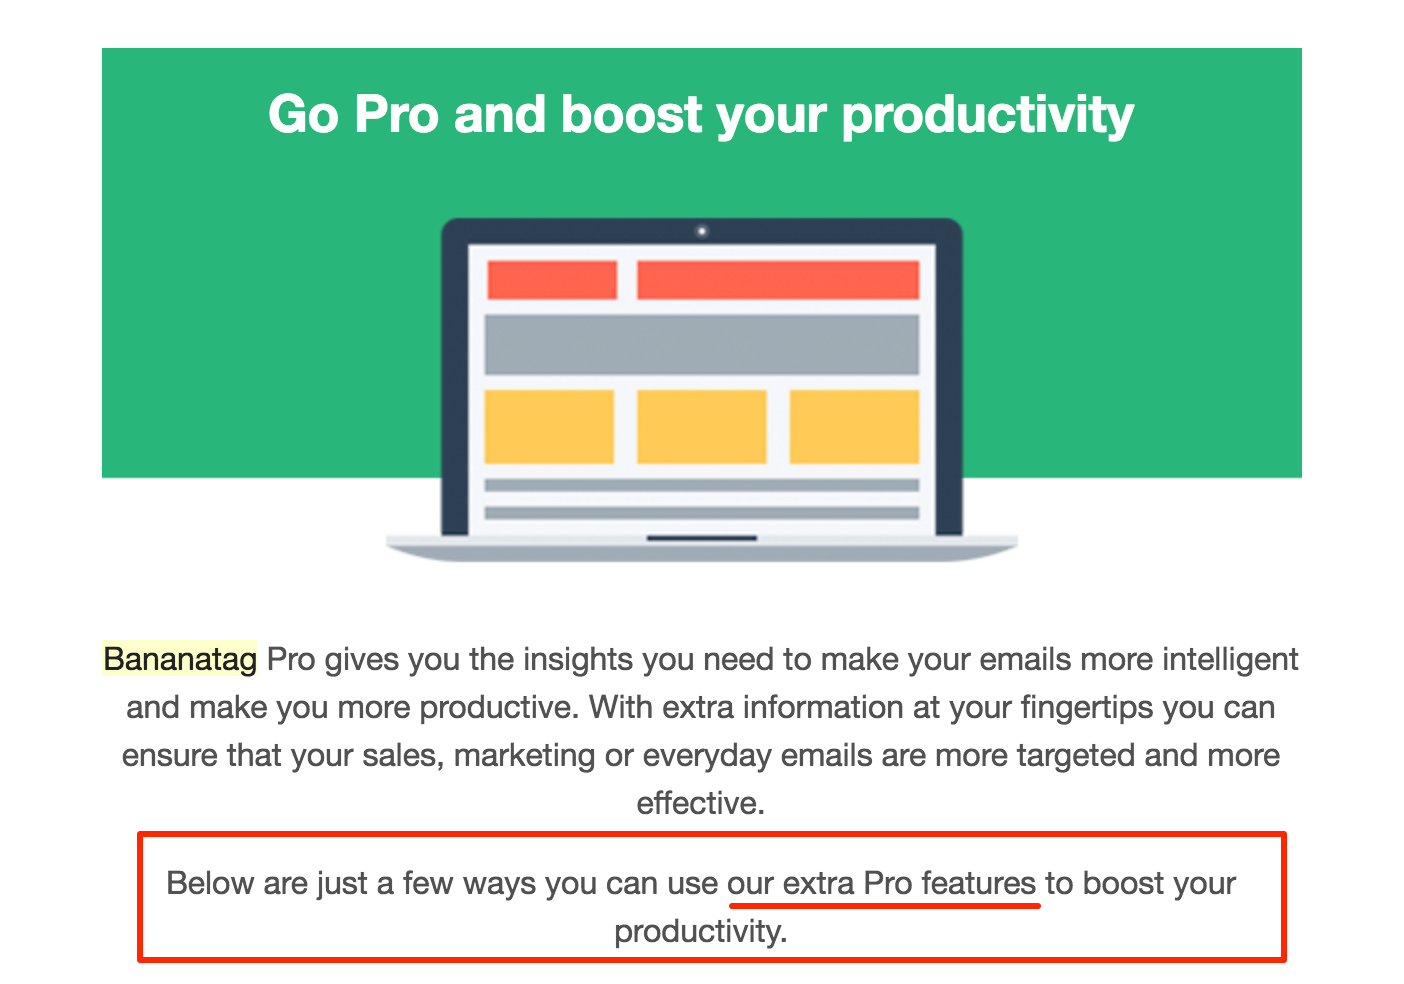
It’s time now you do a bit of selling and tell her about other benefits of signing up for your app.
Here’s how Bananatag does it:
#4. (Behavioral Message) Reminder of the Activation Step
Not all activation emails you send should go in sequence.
Some should only trigger based on a person’s behavior. Like, for instance, not performing that one crucial action related to the activation point.
In that case, you should remind them about it, and provide guidance for finishing the setup.
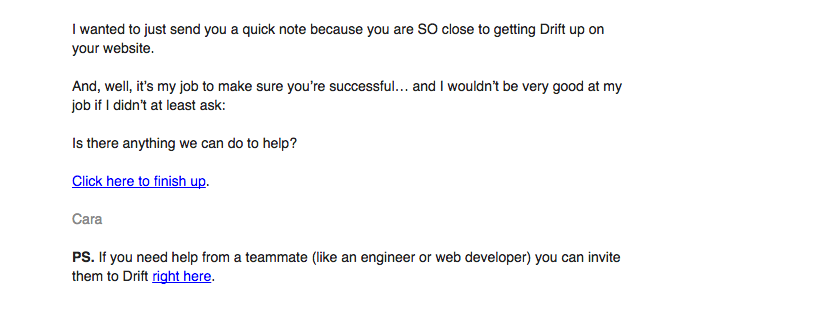
Here’s how Drift do it:
Simple and to the point, right?
And it works. The company gets a staggering 65% open rate on this email. And what’s important, users act on this feedback. Here’s one example Drift shared on their site:

#5. (Behavioral Email) Overcoming a Person’s Challenge
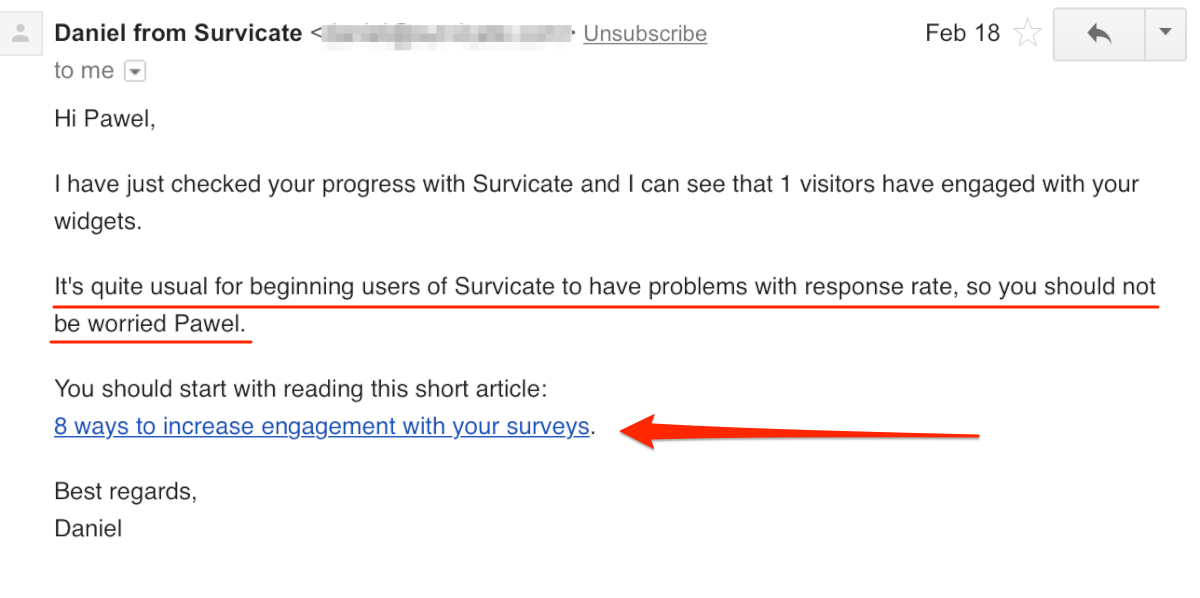
Similarly, if you notice a new user experiencing problems with the product, send them an email offering help.
Here’s an email I got from the guys at Survicate, after my widget generated below average results:
Great, isn’t it?
#6. Follow Up
Although you’re monitoring users behavior to trigger behavioral emails, you’ll most likely miss a lot of their challenges with your product.
And in fact, your only chance to learn about them is to ask.
So, schedule follow up emails in your campaign that simply ask users about their experiences with the product.
(And then, of course, act on the feedback.)
#7. The Offer
Let’s not beat around the bush here.
Your goal for this sequence is to convert a trial user into a paying customer.
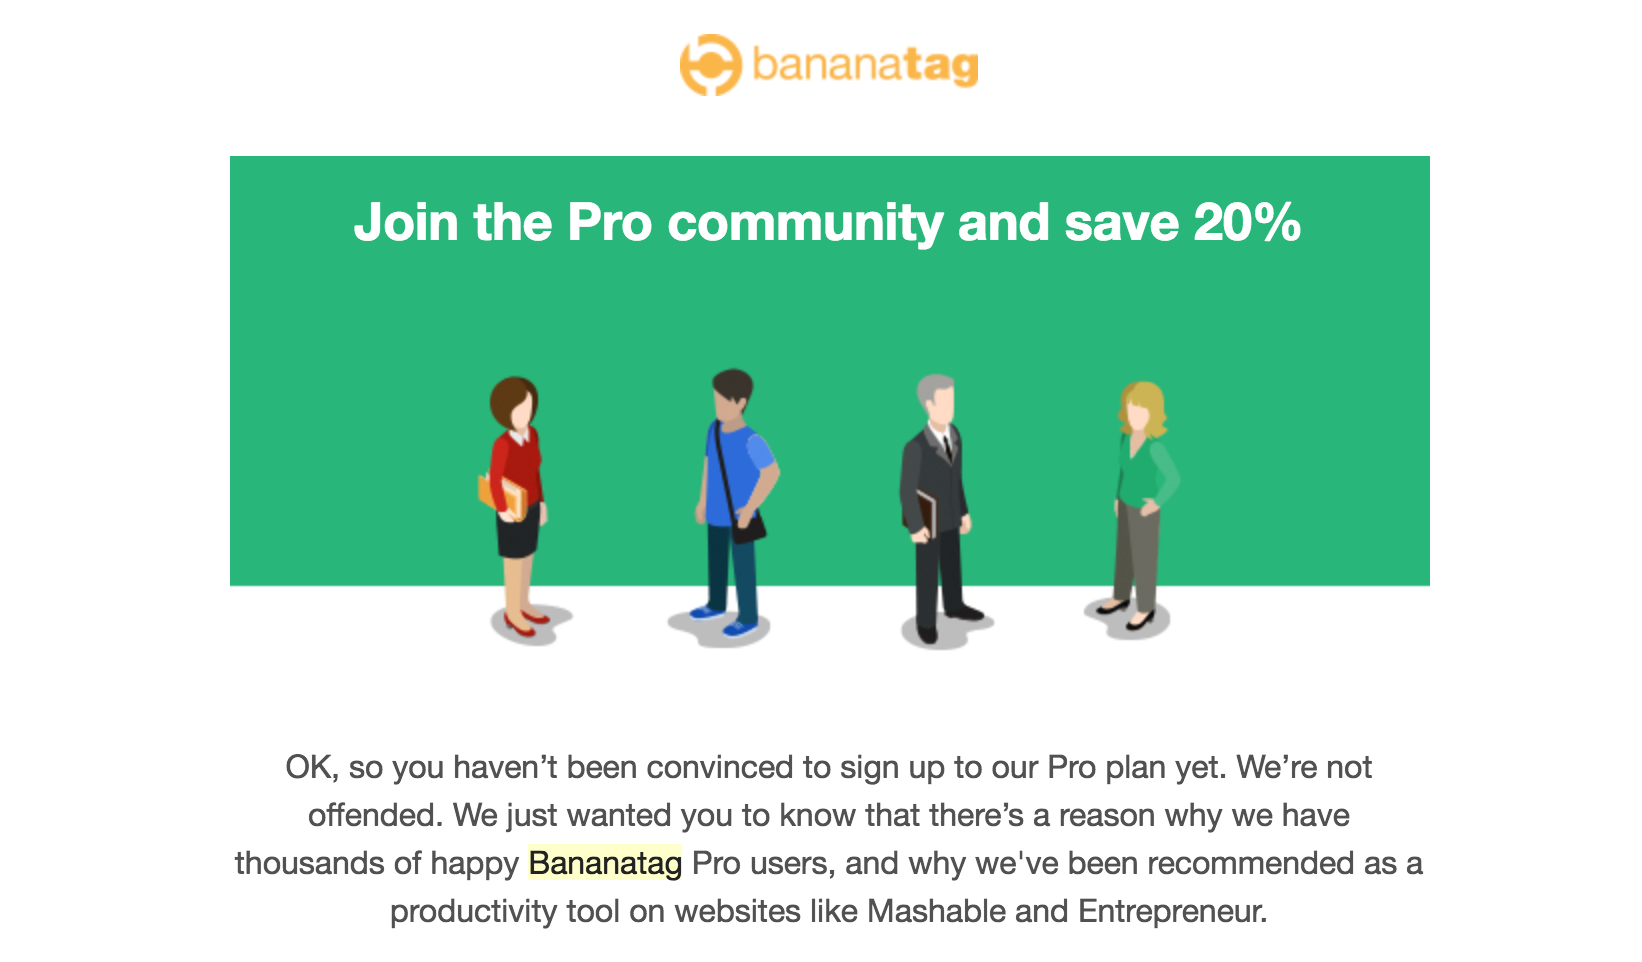
And so, once you’ve provided her with the tools to reach the activation point and ensured that she did so, it’s time to make the offer.
And there’s no magic bullet here. You have to make a case for a person to sign up for the paid version of your product.
You could offer them a discount, of course. Or just rely on benefits to convince them.
Either way, your drip sequence must end with an offer.
Simply.
Closing Thoughts
Fact: The only way to convert trial users into paying customers is by helping them understand what your product can truly do for them.
And in this post I showed you a particularly effective strategy to achieve it – a dedicated user activation drip campaign.
After reading this post you should know the structure and most important elements of such campaign, and how to set them up for your product.
What’s left then is to create it.
Good luck.
Want to know more? Check our ultimate guide to using your product’s activation point to convert trial users into customers.
Excited to get started?
Download our Better Sharing Workbook Now
(it's quick, easy and absolutely free!)

