Every step required to successfully migrate your Google integration to use the new People API.

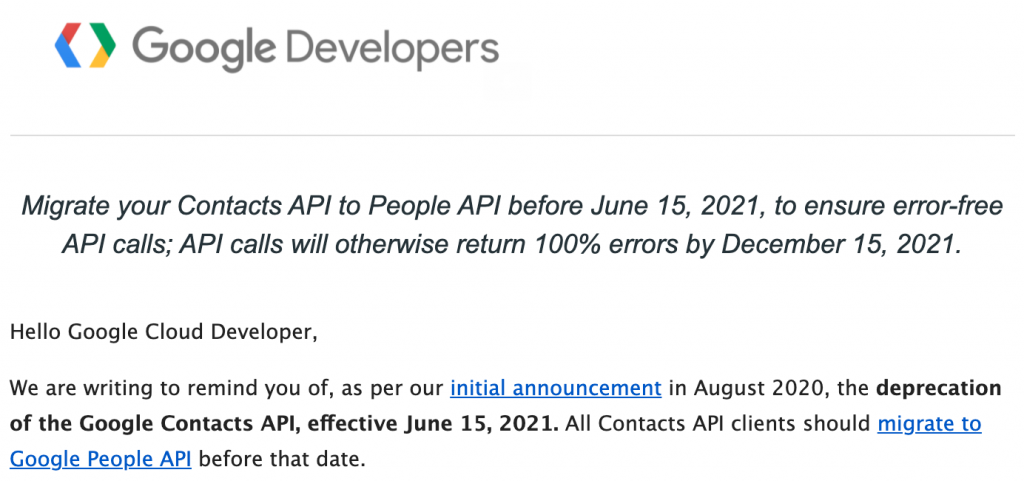
Google’s People API is the new stuff. They have officially deprecated the Contacts API and are in the process of sunsetting it. Now is a great time to make the move.
I’ll break the process into three major steps:
- Firstly, decide which new scopes to use.
- Then, verify these new scopes with Google.
- Finally, complete the migration by turning on the People API in CloudSponge.
Ready, here we go…
Decide which scopes to use
There are two new Google scopes (aka permissions) that Google offers which apply to their People API. Your decision is which of these two applies to your business and use case.
If you are feeling hesitant about this decision. You can defer it and just follow my suggestion. I recommend you add the “Other contacts” and not the “Directory contacts”.
If you are happy with my recommendation, feel free to skip to the next step.
If you are interested in the details, keep with me while I outline a few concepts.
Other Contacts
Google’s People API is better for end-users because it gives them more fine-grained control over access. The old Contacts API used a single permission to grant access to all the contacts that a user added to their app, and all the contacts who they have had a conversation with inside Gmail.
Google treats these two kinds of contacts differently, calling the former “My Contacts” and the latter “Other Contacts”.
Directory Contacts
There’s a third group of contacts that the People API can access too. “Directory Contacts” are the other users in a Google Workspace (formerly known as G Suite). If your users tend to use business email addresses, then consider adding this scope to your configuration.
If your users tend to use @gmail.com addresses, stay away from Directory Contacts since it will only serve to distract or confuse users.
What scopes?
Since you are migrating, you’ll already have added the required ../auth/contacts.readonly scope. This provides access to the list of “My Contacts”.
I recommend that you add the ../auth/contacts.other.readonly scope, This provides access to the “Other contacts” in Gmail. This provides the experience that Gmail users have come to expect: all the people they have had conversations with are available to them.
Finally, the “Directory Contacts” can be accessed by adding the ../auth/directory.readonly scope. Only add this if you are sure.
Verify the new scopes with Google
This is your time to champion your use case to Google’s verification team. If your app has already been approved for the ../auth/contacts.readonly scope, adding one or two more is not a hard job.
But like everything that Google does, it’s tricky to get right.
Luckily, we’ve got the play-by-play for you.
Record a demo video
This is the trickiest step of them all. We have an article detailing how to make sure that your video shows your client_id and the scopes being requested.
Before you start, you’ll enable the new API and scopes in your CloudSponge account. Then you’ll record your demo video for Google and upload it to YouTube. Finally, you’ll disable the People API in CloudSponge (so users don’t see the “unverified app” warning).
Watch me go through the process here. Here is my demo video for Google.
Here are the steps, in full detail:
- Enable the People API on CloudSponge
- Visit the Credentials tab in your CloudSponge account
- Click the edit button on your Google OAuth
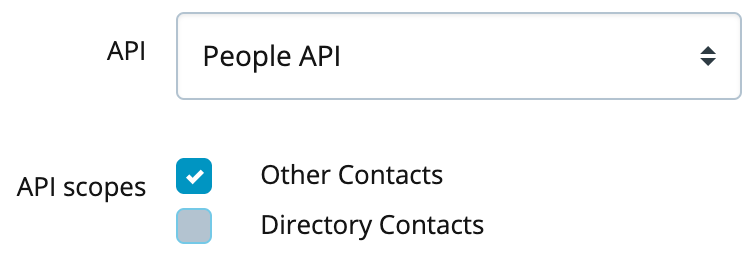
- Pick “People API” in the API dropdown and select the scopes you decided to use

- Click Update
- Before you record: visit your Google permissions page and revoke your application’s permission.
- Now you are ready to record. Visit your application and start your screen capture software.
- Go through the UX where you launch the Contact Picker, choose Google Contacts.
- As soon as the popup window opens, make it as wide as possible so that the
client_id=xxyyis visible. - Choose your Google account.
- Click through the “unverified app” warning, if presented.
- Allow access to the requested scopes.
- Pick an “Other contact” in the Contact Picker. If you include the “Directory contacts” scope, pick one of them too. Submit the selected contacts.
- Demonstrate, as best you can, how your application uses the contact data.
- Stop your screen capture software.
- Phew! Done.
- Before moving on, revisit CloudSponge and restore the “Contacts API (deprecated)” API for your Google OAuth. Don’t scare away your users with the ‘unverified app’ warning.
- Now upload your demo video to YouTube, publish it ‘unlisted’ and hang onto the URL.
Add the new scopes to Google
Now that you have your video, you are ready to add the additional scopes to Google Cloud Platform.
Watch me do it and/or follow the steps below:
- Sign in to GCP and access your project.
- Visit the Consent screen settings. Click Save on the first page.
- On the Scopes page, click add scopes.
- Add
../auth/contacts.other.readonly - Add
../auth/directory.readonly(if applicable)
- Add
- Write in a description to justify your use of these scopes. Be sure to clearly explain the purpose of each of the scopes. If you are requesting
directory.readonlyaccess, explain why you need access to Google Workspace contacts. - Paste the link to your demo video in the appropriate field.
- Click through saving each page until you are (finally!) able to submit your application for verification.
Google says it can take a while for them to grant approval. In my experience, they typically reply within 24 hours. If you’ve done everything correctly, you’ll get approved quickly! 🎊
If they reply with problems, forward the email to support@cloudsponge.com and we’ll help set you straight.
Complete the migration
Once you receive word from Google that they have approved your new scopes, you can move forward with properly and permanently enabling the People API.
- Return to CloudSponge and edit your Google OAuth credential
- Enable the People API and the additional approved scopes
That finishes your migration to the People API.
If you run into trouble, let us know. We are here to help. If you want us to do the work for you, check out our Concierge service.

